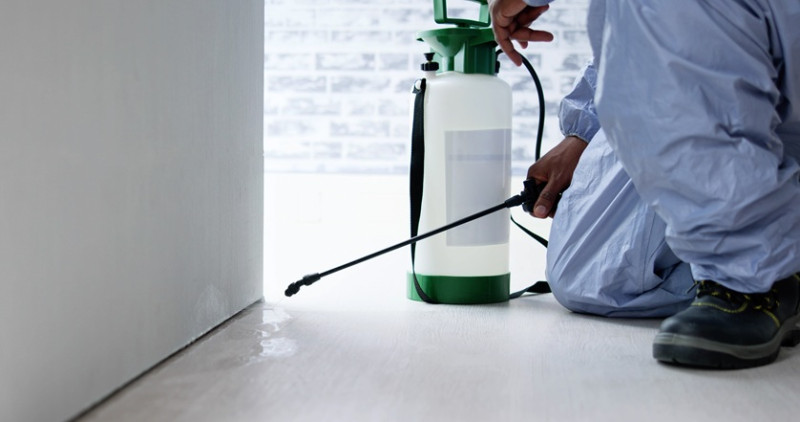
A potential client calls you after finding evidence of a rodent infestation in their loft. They're anxious. They've already Googled "how to get rid of rats" and read five different horror stories. They need reassurance that you can actually fix this problem.
You tell them: "We use industry-standard methods. We'll seal entry points and deploy targeted treatments." Solid pitch. Professional. But they've heard similar lines from three other pest control firms already.
Then you show them a photo. Their loft before treatment. Droppings visible. Visible gnaw marks on timber. Then the after photo. Clean. Sealed. No sign of activity. Suddenly, the conversation shifts. They stop comparing your price to your competitors' and start imagining their own space restored to that condition.
This is the real power of before-and-after photography in pest control marketing. It's not flashy or complicated. It's just evidence that you do what you say you do.
Why Your Competitors Aren't Doing This
Most pest control operators don't bother with proper documentation. They arrive, complete the job, and move on to the next call. Taking photos feels like extra admin. It requires consent from customers, careful framing, and a bit of thought about lighting.
That's exactly why it works so well. When you actually do it, you stand out.
A quick glance at local pest control websites in most UK towns reveals the same pattern. Stock photos of suited technicians. Generic imagery of termites or cockroaches. Maybe a company logo and a list of services offered. Nothing that proves the actual work gets done.
The firms that photograph their work, though? They get calls from people who've already seen the proof. These prospects are warmer leads. They've already answered their own biggest question: "Can they actually do the job?"
What Actually Works in Before-and-After Photography
Not all before-and-after photos are equal. A blurry snapshot taken on a phone at midday won't convince anyone. You need to think like someone presenting evidence.
Start with the before shot. This is where you show the problem clearly. If a customer had a wasp nest under their soffit, photograph it in natural light so the nest is unmistakable. If it's bed bug evidence in a hotel mattress, get close enough that the damage is visible but not so close that it becomes abstract.
The after photo should show the same angle, same location, ideally taken within a few days of treatment when results are most apparent. This consistency helps viewers understand the transformation.
Location matters. A before-and-after of a commercial kitchen with a documented pest problem, taken from the same spot, tells a story better than a generic "treated room" photo. The more specific your documentation, the more credible it appears.
For sensitive situations, always get written permission before publishing. Many customers will actually consent once they understand you're not using their name or address, just the visual proof.
Where These Photos Actually Get You Work
Your website homepage should feature your best before-and-afters. Not buried in a gallery. Front and centre, where someone spending 10 seconds on your site can immediately see that you produce results.
Google Local Services Ads now prioritise images in listings. If you're using these ads to attract emergency call-outs, before-and-after photos uploaded to your profile directly improve click-through rates. We've seen pest control firms report a 25 to 40 percent increase in enquiries after adding proper photographic documentation.
Social media thrives on before-and-after content. A single post showing a treated infestation on LinkedIn or Facebook typically generates 3 to 5 times more engagement than a standard service announcement. This visibility matters when customers search for reviews or recommendations.
Case studies work better with photos attached. A written description of how you cleared a restaurant of a German cockroach problem is one thing. Add the before shots showing the extent of the infestation and the after shots showing clean surfaces and you've created something a potential client actually believes.
The Practical Side
You'll need a decent camera or a modern phone with a proper flash. Consistency in how you photograph work builds recognisability across your portfolio. Some firms use a simple template for every job: one wide shot of the treatment area before, one detail shot showing the problem, and two after shots from the same angles a few days post-treatment.
Keep metadata organised. Store photos by job type, date, and customer. This makes it simple to pull examples when pitching to new prospects or updating your portfolio.
Never publish customer information. Address details, business names, or identifying features should be removed or avoided in shots. Your goal is to show competence, not to out customers who had pest problems.
Build a library. Start with your next 20 jobs. Get permission and photograph properly. Within two months you'll have enough material to populate a solid case studies section on your website and several weeks' worth of social media content.
The Straightforward Truth
Before-and-after photos work because people making hiring decisions are anxious. They want proof that you can solve their problem. Writing about your experience helps. Testimonials help. But a clear visual record of completed work cuts through that doubt faster than anything else.
Your competitors probably aren't doing this properly. The gap between a firm with no photo documentation and one with a solid case study library is significant. It's not just about looking more professional. It's about actually giving prospects a reason to believe you instead of the next operator they ring.
Start documenting your work now. Make it routine. In six months, you'll have a competitive advantage most local pest control services simply don't possess.
Trending articles
-
 Business Rates and Inflation Squeeze: ...
Mar 2026
Business Rates and Inflation Squeeze: ...
Mar 2026
-
 WordPress vs Squarespace vs Wix for ...
Mar 2026
WordPress vs Squarespace vs Wix for ...
Mar 2026
-
 Why Pest Control Companies Need ...
Mar 2026
Why Pest Control Companies Need ...
Mar 2026
-
 Sole Trader or Limited Company? What ...
Mar 2026
Sole Trader or Limited Company? What ...
Mar 2026
-
 What to Expect When Hiring a Pest ...
Mar 2026
What to Expect When Hiring a Pest ...
Mar 2026
-
 Google Ads vs Facebook Ads for Pest ...
Mar 2026
Google Ads vs Facebook Ads for Pest ...
Mar 2026